Wi-Fi Thermostat Installation

Need help installing a new Wi-Fi thermostat? AHS will help you find the right device and walk you through the Wi-Fi thermostat installation process.


Need help installing a new Wi-Fi thermostat? AHS will help you find the right device and walk you through the Wi-Fi thermostat installation process.
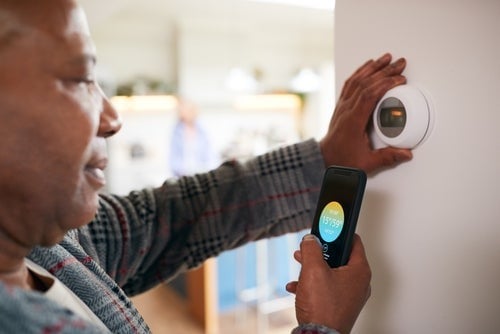
Have you been contemplating installing a new thermostat? If so, consider a WiFi thermostat, which can do more than just control your home’s interior temperature. There are other advantages of installing a smart thermostat: They can change your home’s heating and cooling from anywhere with just the swipe of a finger or a voice command. If you travel frequently or have renters staying in your vacation home throughout the year, a WiFi thermostat allows you to check the temperature in your home from your smartphone.
All smart thermostats are WiFi thermostats, but not all WiFi thermostats are smart. Smart thermostats not only connect to your phone to track and adjust temperature settings but also can learn your family’s habits and adjust the thermostat according to your setting patterns. They might have proximity sensors, geofencing, and other high-tech enhancements to help ensure ideal heating and cooling in your home. Learn more about how to install a smart thermostat.
A thermostat with WiFi is not a learning thermostat; however, it can still be a great choice for your home. The best WiFi thermostat is the one that works with your budget, household, and lifestyle.

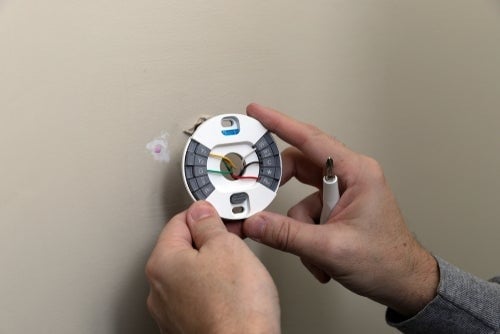
Complete the WiFi thermostat installation process in no time by following these steps:
While these instructions generally work for installing most WiFi thermostats, you should always follow the instructions provided with your new easy-to-install WiFi thermostat.
Thinking about coverage?
Security for your home. Protection for your budget.

Maintaining the items in your home is important to protect your investment, and your HVAC system is no exception. To safeguard the systems and appliances in your home, be sure to sign up for a home warranty plan from American Home Shield®. While we don’t cover WiFi thermostats specifically, we do cover parts and components of A/C and heating units.
Our home warranty plans provide coverage for up to 23 major systems and appliances you use every day to keep your home running smoothly. To learn more about the items we cover, view our coverage details page.
American Home Shield® home warranty plans are a great way to protect your budget and stay comfortable year-round.
Maintaining smart home security gadgets is made easy with an American Home Shield plan.

AHS assumes no responsibility, and specifically disclaims all liability, for your use of any and all information contained herein.