You are requesting information from AHS regarding our products and services. By clicking the button, you consent to receive email at the email address you provided. You agree to our Privacy Policy and Terms of Use. You understand that your consent is not a condition of purchase.
You are requesting information from AHS regarding our products and services. By clicking the button above, you consent to receive email at the email address provided, as well as phone calls and text messages (including prerecorded, autodialed and/or AI-generated calls and texts) at the phone number you provided. You agree to our Privacy Policy and Terms of Use. You understand that your consent is not a condition of purchase. Or call 888-682-1043 for a free quote.
We use cookies and other technologies for tracking, analytics and
personalizing the ads or content you see. By using this website, you
consent to our use of these technologies. For more information, please
visit our
Privacy Policy.
You are requesting information from AHS regarding our products and services. By clicking the button below, you consent to receive email at the email address you provided. You agree to our Privacy Policy and Terms of Use. You understand that your consent is not a condition of purchase.
You are requesting information from AHS regarding our products and services. By clicking the button below, you consent to receive email at the email address provided, as well as prerecorded messages, autodialed phone calls and text messages at the phone number you provided. You agree to our Privacy Policy and Terms of Use. You understand that your consent is not a condition of purchase.
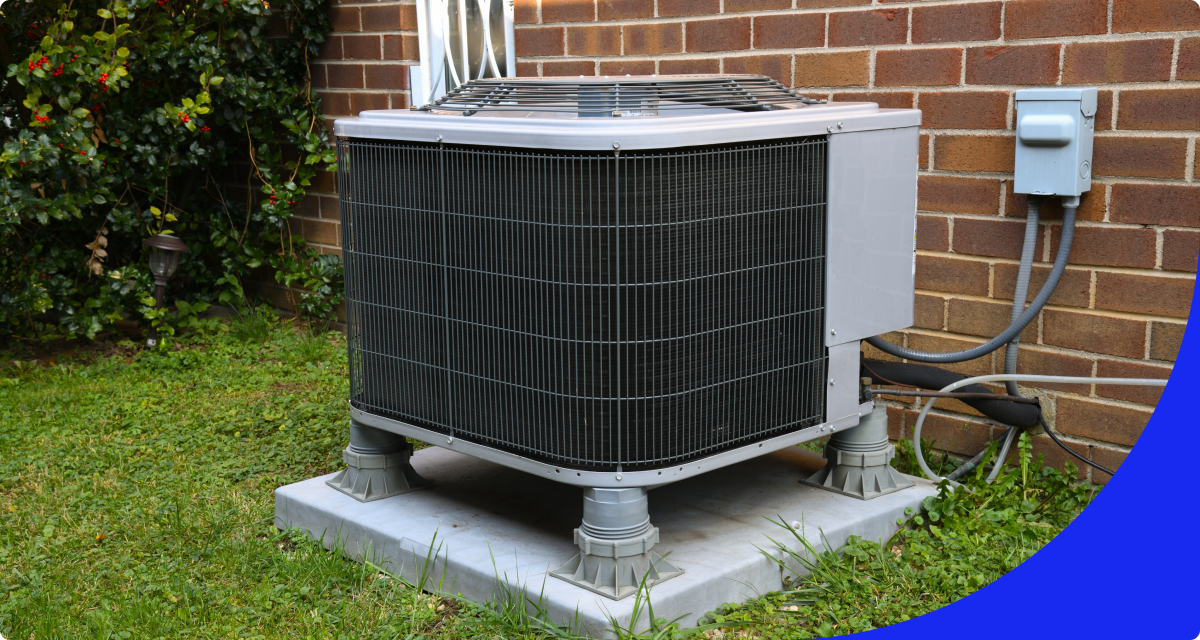
HVAC issues are a major inconvenience no matter the time of year—but especially when you need it most in the summer and winter. Your system is more likely to fail during extreme temperatures because the extra work can overload the system leading to HVAC replacement. You can, however, stave off malfunctions and make your HVAC system last by performing regular HVAC system inspections and AC unit maintenance.
Professional HVAC inspection costs can be pricey if you don’t havehome warranty coverage. Even if you have a home warranty, it can feel empowering to learn how to do it yourself. American Home Shield® is here with the steps to take when performing your very own AC inspection.
HVAC Inspection Checklist
How to Conduct a DIY HVAC Inspection
Make sure your thermostat is working properly.
Shut off the power.
Remove debris from the external HVAC unit.
Clean and repair the fins.
Clear the area around the unit.
Level the HVAC unit.
Clean the evaporator coil.
Check the evaporator drain.
Replace the filter.
Final steps.
How often should I change my HVAC filter?
HVAC vs Furnace
1. Make sure your thermostat is working properly.
Start by checking your thermostat. This can be as simple as raising and lowering the temperature to make sure your heater and A/C kick in. Calibrating your thermostat can also help with efficiency. If your thermostat needs to be replaced, consider investing in a smart thermostat, which may be able to save you money on your utilities.
2. Shut off the power.
Safety first! Find the correct switch on your breaker box and turn off the power to the inside unit. On the outside unit, turn off the on/off switch. This is incredibly important, as you’ll soon be removing parts of the unit.
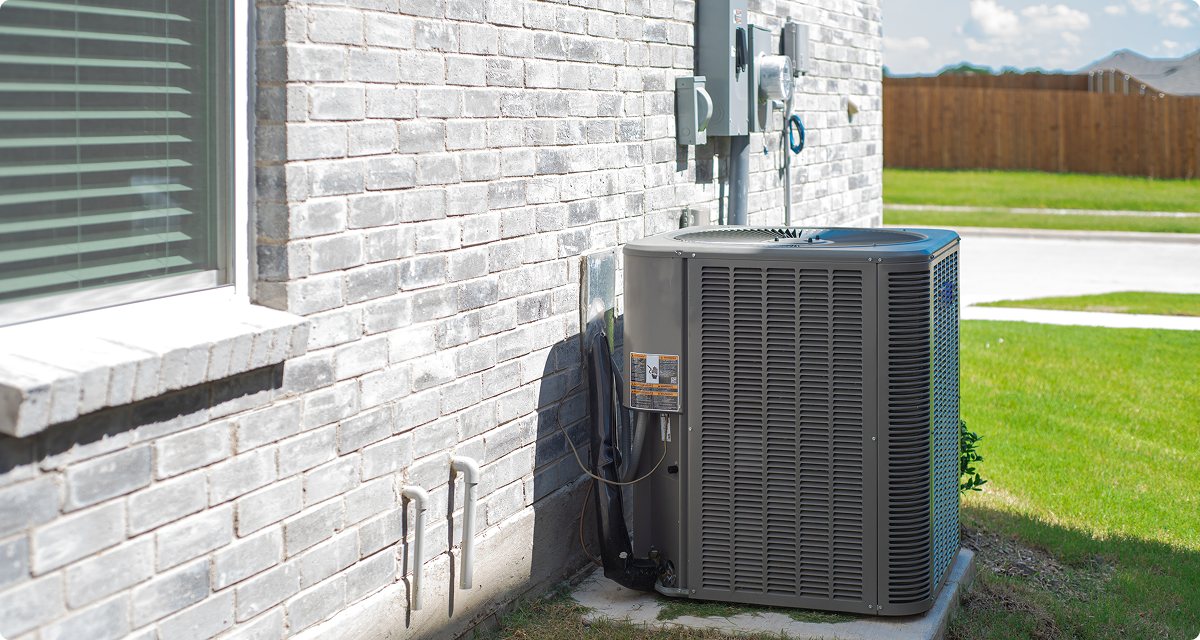
3. Remove debris from the external HVAC unit.
Start by taking the protective cage off the unit’s fan. Remove any excess leaves or debris from the interior with a wet/dry vacuum.
4. Clean and repair the fins.
Use a sprayer hose to spray the fins from the inside of the unit, washing away any debris. Do not use a pressure washer, as that can be too powerful for the delicate fins. If the fins are exceptionally dirty, you can find fin-cleaning spray at a local hardware store.
The fins need to be straight in order to keep airflow efficient throughout the year. Take a butter knife or a fin-straightening tool and straighten the fins carefully. Reattach the fan cage.
5. Clear the area around the unit.
Try to keep the area free of shrubs, trees, or other vegetation. To get your HVAC system ready for winter, put a piece of plywood or plastic on top of the unit to protect it from falling debris. However, do not cover the unit, as that is an invitation for pests to move in during off months.
Just like your foundation, your external HVAC unit can shift over time. A condenser that isn’t level can cause the compressor to fail much earlier than it should. As part of your HVAC inspection, check if the unit is level, and if not, use rot-resistant shims to prop up whichever side needs it; you can find shims at your local hardware store.
7. Clean the evaporator coil.
Now head inside and follow these steps:
On your internal unit, open the evaporator coil door and give it a good dusting.
Then, spray it with commercially available no-rinse coil cleaner, which will turn into foam and drip into the drain pan.
Clean the drain pan with hot water, soap, and a small amount of bleach.
Time for a tuneup.
Learn about our HVAC tuneup plans with American Home Shield.
You may notice that your interior unit’s evaporator drain is clogged, which can cause flooding and other issues. Using a wet/dry vacuum, suck out any debris in the drain that is blocking the flow of runoff water.
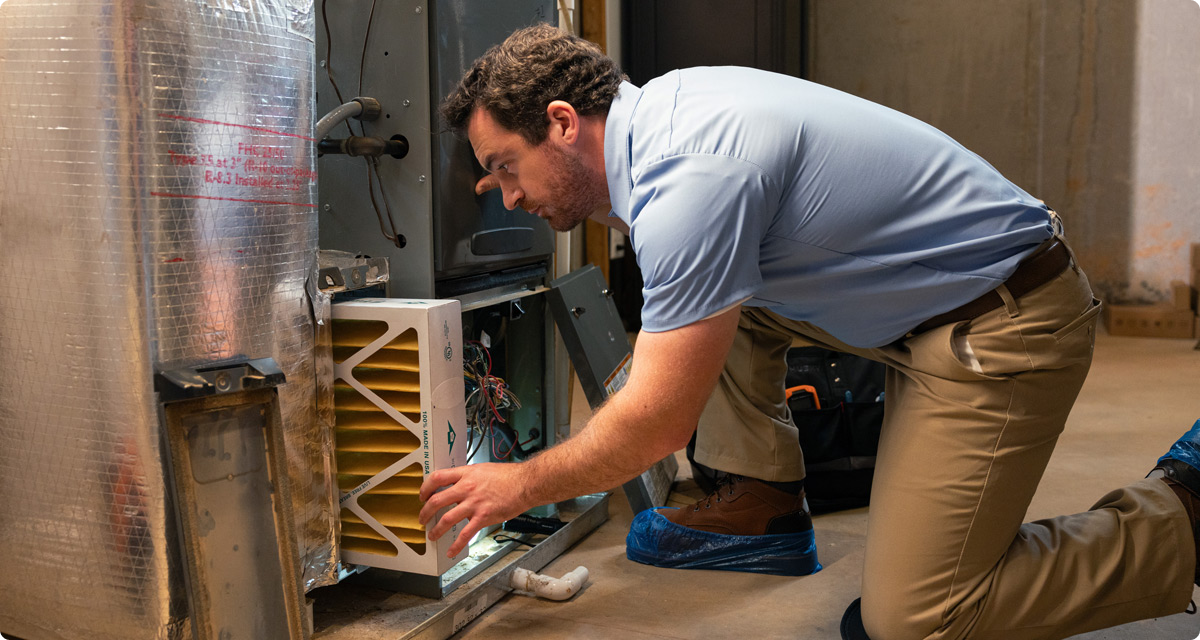
9. Replace the HVAC filter.
Changing the air filter is an important item on your HVAC inspection checklist. The filter traps debris from entering your HVAC unit and helps provide clean air in your home. Aim to replace the air filter every three months or so; however, the frequency depends on the type of filter, if your family members have allergies, and the size of your house.
Knowing how often to change the HVAC filter is crucial to maintaining optimal air quality and system performance. Consider using a HEPA filter HVAC for better air filtration, and be aware of HVAC filter ratings to choose the best option. For a reusable option, a washable HVAC air filter can be cleaned and reused multiple times.
10. Final steps.
Inspect the ductwork (where it’s visible) for any leaks and repair with duct tape. Air vents should be located in almost every room of your house. Unscrew each one and examine with a flashlight for any debris, including rodent feces or mold.
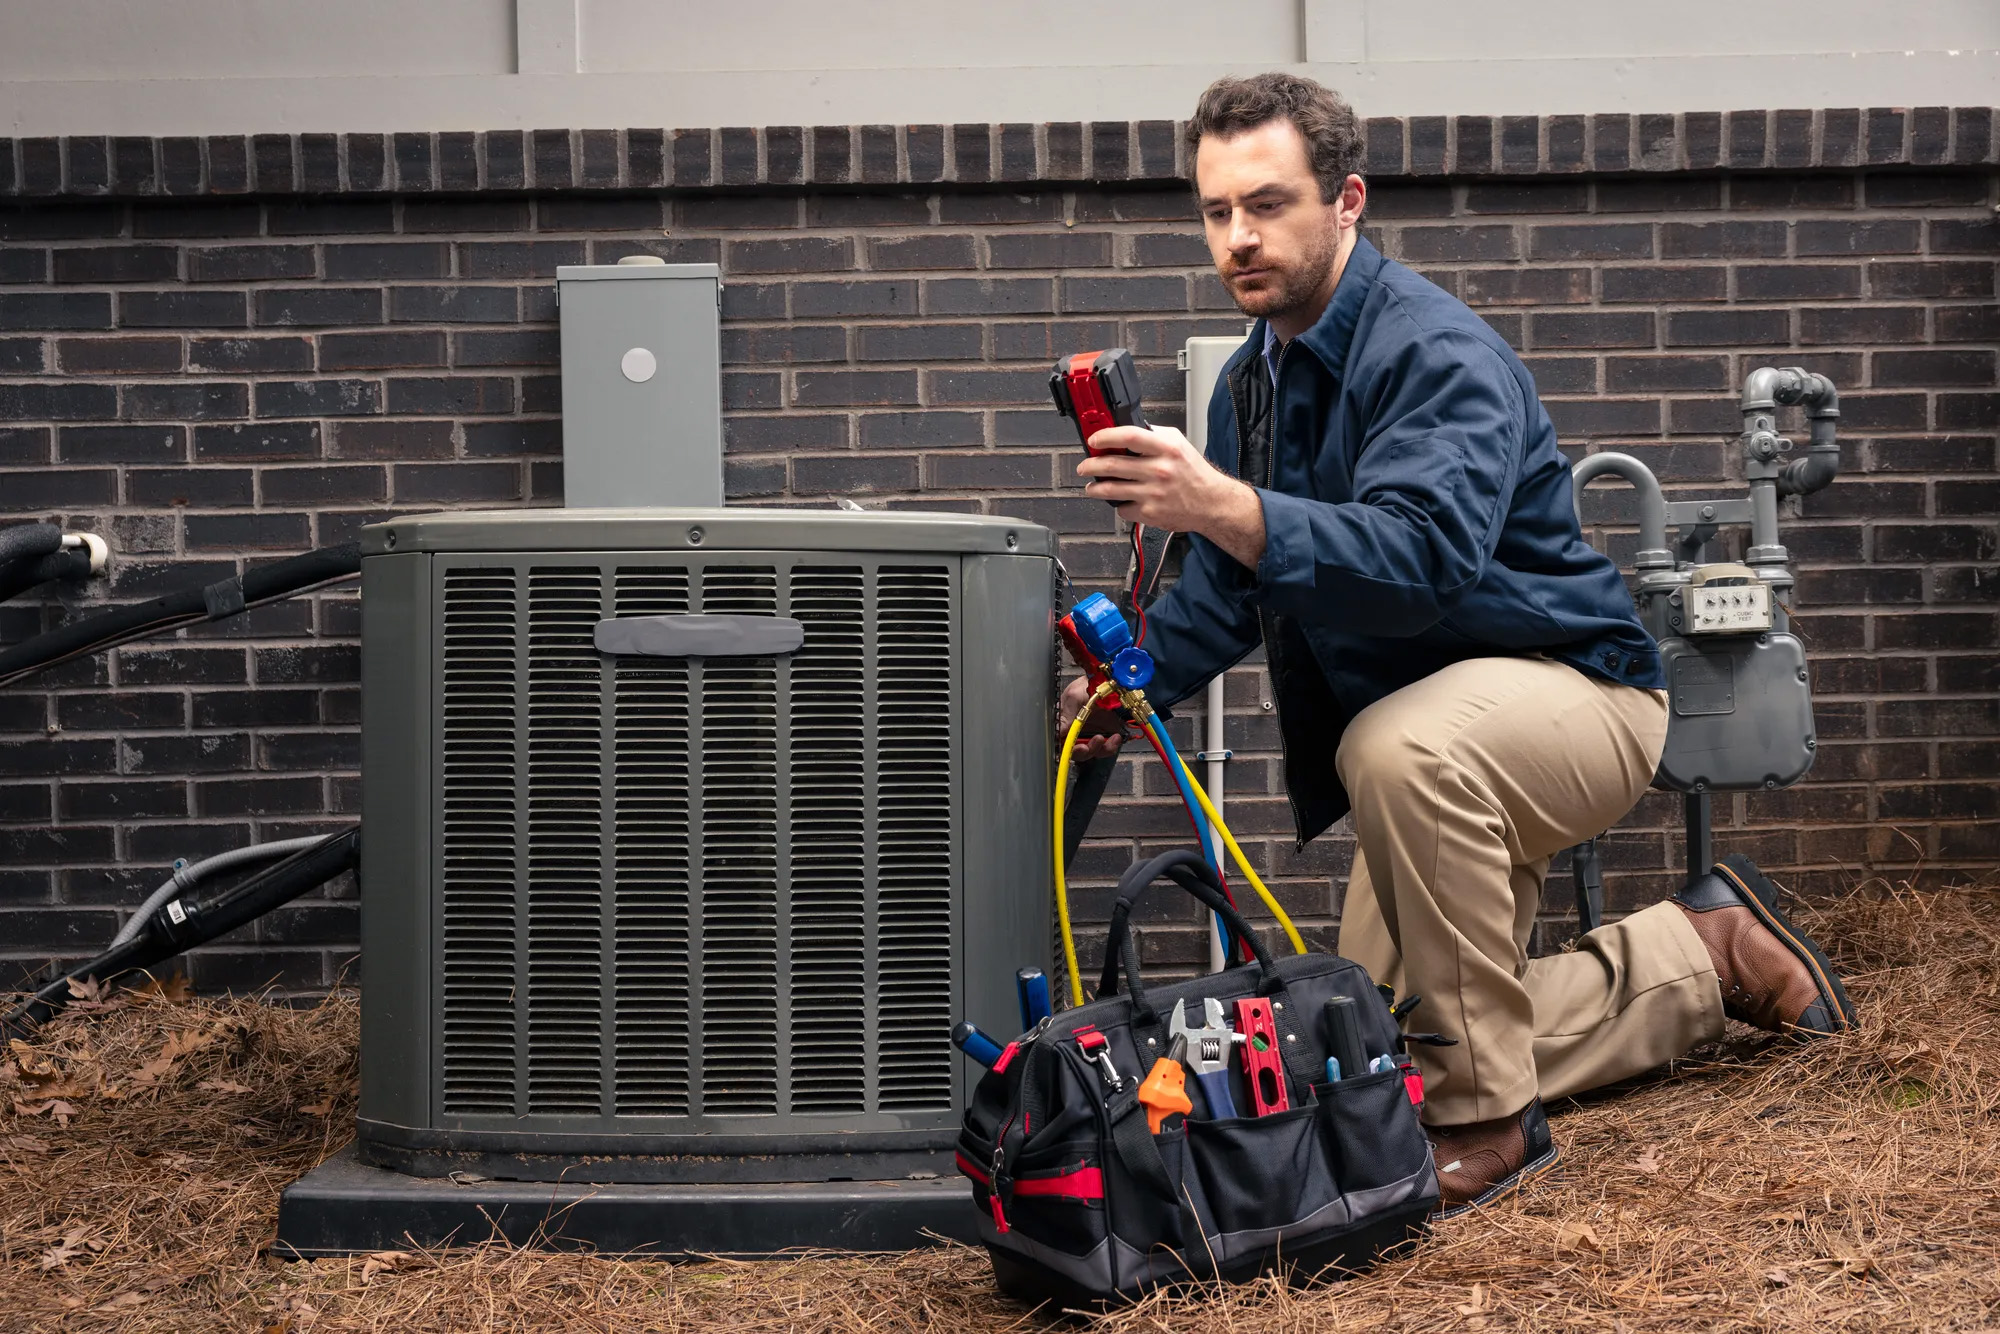
When to call a pro
Remember, while DIY AC tune-ups and HVAC maintenance can help, certain tasks like ductwork inspection, HVAC replacement and installation, and professional HVAC inspections after installation are best left to experts to ensure thoroughness and safety.
If your inspection results in needing a professional to examine your unit, don't rely on typing "HVAC inspection near me" in a search engine and hoping for the best. Instead, get a discounted or free HVAC inspection and AC tune-up with your American Home Shield® home warranty plan.
ShieldPlatinum™ members receive one free HVAC tune-up per contract term
Tune-ups are available in the spring and fall for just $100 per unit with our ShieldSilver™, ShieldGold™ plans.
Regular yearly air conditioner maintenance and servicing HVAC systems professionally can prevent major issues and keep your system running efficiently. Proper HVAC system maintenance is key to avoiding unexpected breakdowns and ensuring comfort year-round.