4. Low Water Pressure (All Water Heaters)
Low water pressure can affect both gas and electric water heaters, leading to reduced water flow everywhere else in the home—the washing machine, the shower, the bathtub, and your sinks.
Here’s how to troubleshoot this issue:
- Check the main water supply. Ensure that the main water valve supplying water to your home is fully open. If the main valve is open and you still have low pressure, check with your water supplier to see if there are any issues or maintenance work affecting the supply.
- Inspect the shut-off valve. Check the shut-off valve near the water heater to ensure it’s fully open. Sometimes, these valves can be accidentally partially closed during maintenance.
- Examine the water lines. Look for any visible signs of leaks, kinks, or blockages in the water lines leading to and from the water heater. Damaged or blocked lines can restrict water flow. If you detect a leak, turn off the water and repair the leak before turning it back on.
- Flush the water heater. Sediment build-up inside the water heater tank can reduce water flow and pressure. To flush the tank, turn off the power or gas supply, and connect a hose to the drain valve at the bottom of the tank. Open the valve and let the water and sediment drain out. Close the valve, remove the hose, and refill the tank.
- Check for mineral deposits. Mineral deposits can build up in the water heater and plumbing, restricting water flow. Installing a water softener can help prevent future build-up. For immediate relief, consider using a descaling solution to clean the water heater and plumbing.
- Inspect the pressure-reducing valve. Some homes have a pressure-reducing valve (PRV) installed on the main water line. If this valve is set too low or is malfunctioning, it can cause low water pressure. Adjust or replace the PRV if necessary.
5. Discolored or Rusty Water (All Water Heaters)
Discolored or rusty water can indicate corrosion or other issues inside the water heater. In most cases, the solution is relatively simple, though some (like installing a water softener) can be more expensive.
Here’s how to troubleshoot this problem:
- Identify the source. Determine if the discoloration is only in the hot water. If both hot and cold water are discolored, the issue may be with your home’s plumbing rather than the water heater. If only the hot water is discolored, the problem is likely within the water heater.
- Flush the heater. Sediment and rust can accumulate in the water heater tank, causing discoloration. To flush the tank, turn off the power (electric) or gas supply (gas), and connect a hose to the drain valve at the bottom of the tank. Open the valve and let the water and sediment drain out. Close the valve, remove the hose, and refill the tank.
- Inspect the anode rod. The anode rod helps prevent rust inside the water heater tank. If it is corroded, it may need to be replaced. Turn off the power or gas supply, drain some water from the tank, and remove the anode rod. Replace it if it’s heavily corroded.
- Check for corrosion. Inspect the inside of the tank for signs of corrosion. If the tank itself is corroding, it may need to be replaced. Corrosion is a sign that the tank is nearing the end of its lifespan.
- Install a water softener. Hard water can contribute to sediment and rust build-up in the water heater. Installing a water softener can help reduce mineral deposits and extend the life of the water heater.
6. Strange Noises (All Water Heaters)
Strange noises coming from your water heater can indicate a variety of issues—and they can also be a worrisome distraction. Fortunately, most noises aren’t a serious concern, and the causes can be quickly rectified.
Here’s how to troubleshoot these sounds:
- Popping or rumbling. This is usually caused by sediment build-up at the bottom of the tank can trap water underneath. When the water heats up, it causes the sediment to shift and create popping or rumbling noises.
The Fix: Flush the water heater to remove sediment. Connect a hose to the drain valve, open the valve, and let the water and sediment drain out. Close the valve, remove the hose, and refill the tank.
- Hissing or sizzling. These noises can occur if there is a leak in the tank or if the heating element is covered with sediment or scale.
The Fix: Check for leaks around the tank. If you find a leak, turn off the water supply and power to the heater and contact a professional to repair or replace the tank. If the heating element is scaled, clean or replace it.
- Knocking or banging. Knocking or banging sounds can be caused by water hammer, which occurs when water flow is suddenly stopped and the pipes bang against each other or the wall.
The Fix: Install a water hammer arrestor to absorb the shock and stop the banging. This device can be installed on the water supply lines to the heater.
- Ticking or tapping. Thermal expansion can cause ticking or tapping noises as the pipes expand and contract with changes in temperature.
The Fix: Install expansion tanks or loops to accommodate the thermal expansion and reduce the noise.
- Crackling. This sound can occur if the water heater’s burner or heating elements are covered with sediment.
The Fix: Clean the burner or heating elements to remove the sediment build-up. Flushing the tank can also help prevent this issue.
7. Water Heater is Leaking (All Water Heaters)
A leaking water heater can cause significant damage to your home if not addressed promptly. Identifying and fixing the source of the leak is crucial to prevent further issues.
Here’s how to troubleshoot when your hot water heater’s leaking:
- Check the inlet and outlet connections. Inspect the connections at the top of the leaking water heater. If you notice any water around these connections, tighten them with a wrench. If the connections are corroded, they may need to be replaced.
- Examine the pressure relief valve. The pressure relief valve releases excess pressure to prevent the tank from exploding. If the valve is leaking, it could be due to high pressure or temperature. Test the valve by lifting the lever and letting it snap back. If water continues to leak, replace the valve.
- Inspect the drain valve. The drain valve at the bottom of the tank is used to empty the tank for maintenance. If it’s leaking, ensure it’s tightly closed. If the leak persists, you may need to replace the valve.
- Check the tank for cracks. Inspect the tank for any visible cracks or holes. If the tank itself is leaking, it’s usually a sign that it has reached the end of its lifespan and needs to be replaced.
- Look for leaks at the base. Water at the base of the water heater can indicate a leak from the internal tank. If the internal tank is leaking, the entire water heater will need to be replaced.
- Examine the anode rod. The anode rod prevents corrosion inside the tank. If it’s corroded, it may cause leaks. Turn off the power or gas supply, drain some water from the tank, and remove the anode rod. Replace it if it’s heavily corroded.
8. Water Heater Smells (All Water Heaters)
Unpleasant odors from your water heater can make using hot water an unpleasant experience. The smell is often caused by bacteria or other contaminants inside the tank.
Here’s how to troubleshoot and fix those hot water heater smells:
- Identify the type of smell. A rotten egg smell typically indicates bacteria in the tank, while a metallic smell can suggest corroded components.
- Flush the tank. Bacteria and sediment build-up can cause odors. To flush the tank, turn off the power or gas supply, and connect a hose to the drain valve at the bottom of the tank. Open the valve and let the water and sediment drain out. Close the valve, remove the hose, and refill the tank.
- Treat the tank with hydrogen peroxide. For bacterial contamination, fill the tank with a mixture of hydrogen peroxide and water. Use about one to two pints of hydrogen peroxide for a 40-gallon tank. Allow the mixture to sit for a few hours before flushing the tank again.
- Replace the anode rod. If the smell persists, the anode rod may be contributing to the problem. Some anode rods are more prone to causing odors. Consider replacing the existing anode rod with a different type, such as a powered anode rod, which can help reduce odors.
- Install a water softener. Hard water can contribute to bacterial growth and odors. Installing a water softener can help reduce mineral deposits and bacterial growth.
- Maintain proper temperature. Keeping the water heater at a temperature of at least 140°F can help kill bacteria and prevent odors. However, be cautious as higher temperatures can increase the risk of scalding. Adjust the temperature according to your household needs while ensuring it’s high enough to prevent bacterial growth.
9. Water Is Getting Too Hot (All Water Heaters)
Water that is too hot can be a safety hazard and may indicate a problem with your water heater’s thermostat or temperature settings. Addressing this issue promptly can prevent scalding and reduce energy consumption.
Here’s how to troubleshoot when your water heater’s too hot:
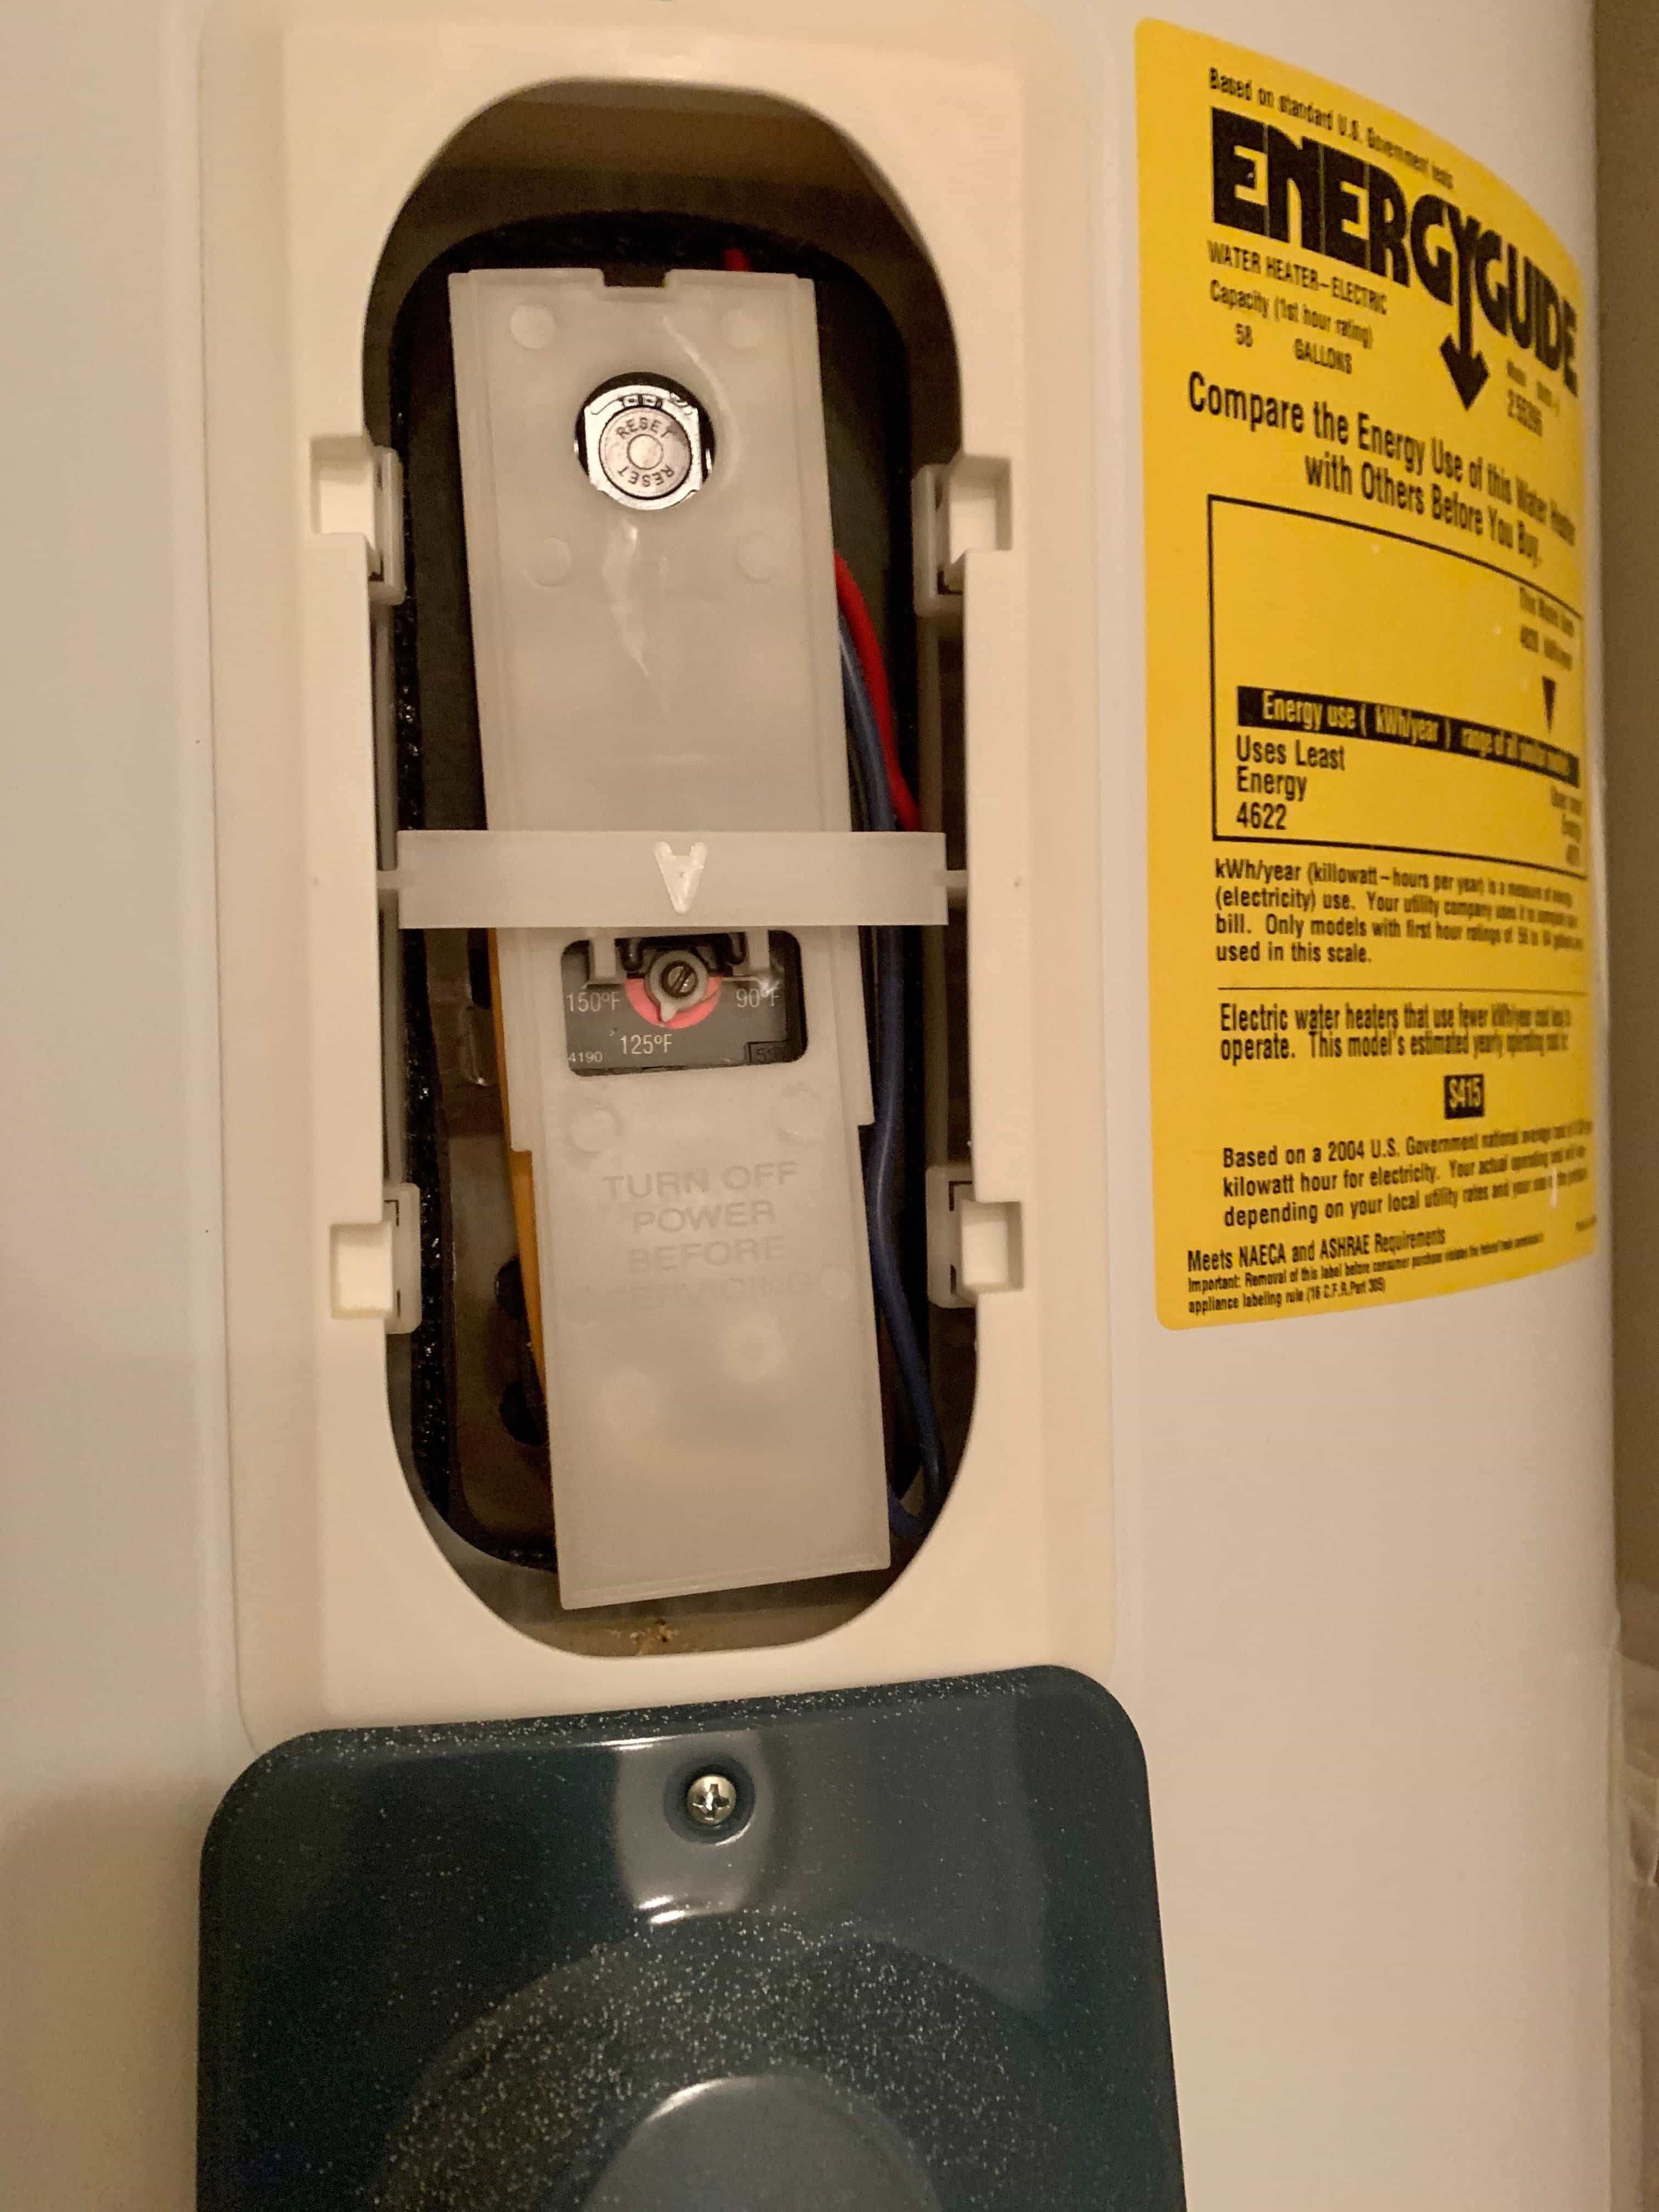
- Check the thermostat. Locate the thermostat and ensure it is set to a safe temperature, typically between 120°F and 140°F. If it is set too high, adjust it to a lower temperature.
- Test the thermostat. If the water remains too hot despite lowering the thermostat setting, the thermostat may be malfunctioning. Use a multimeter to check for continuity. If the thermostat is faulty, it will need to be replaced.
- Inspect the heating elements. In electric water heaters, a faulty heating element can cause the water to overheat. Turn off the power to the water heater, remove the access panel, and test the heating elements with a multimeter. Replace any faulty elements.
- Examine the pressure relief valve. If the pressure relief valve is malfunctioning, it can cause the water heater to overheat. Test the valve by lifting the lever and letting it snap back. If it doesn’t function correctly, replace the valve.
- Check for sediment build-up. Sediment build-up at the bottom of the tank can cause the water heater to overheat. Flush the tank to remove sediment and prevent overheating.
- Reset the high-temperature cutoff switch. The high-temperature cutoff switch is designed to shut off the water heater if the water gets too hot. If it has tripped, reset it by pressing the red button located above the upper thermostat. If it continues to trip, there may be an underlying issue that needs to be addressed by a professional.
10. Water Isn't Getting Hot Enough (All Water Heaters)
When your water heater isn’t producing enough hot water, it can be frustrating and inconvenient. This issue can be caused by several factors, ranging from simple thermostat adjustments to more complex mechanical problems.
Here’s how to troubleshoot when your hot water heater’s not getting hot:
- Check the thermostat. Ensure the thermostat is set to an appropriate temperature, typically between 120°F and 140°F. If it is set too low, increase the temperature setting.
- Test the thermostat. Use a multimeter to test for continuity. Replace the thermostat if it is not functioning correctly.
- Inspect the heating elements. In electric water heaters, a malfunctioning heating element can result in insufficient hot water. Turn off the power to the water heater, remove the access panel, and test the heating elements with a multimeter. Replace any defective elements.
- Check for sediment build-up. Sediment build-up can insulate the water from the heating elements, reducing the efficiency of the water heater. Flush the tank to remove sediment and improve heating performance.
- Examine the dip tube. The dip tube directs cold water to the bottom of the tank, where it can be heated. If the dip tube is broken or damaged, cold water may mix with hot water at the top of the tank, resulting in lukewarm water. Replace the dip tube if it is damaged.
- Inspect the gas supply. For gas water heaters, insufficient gas supply can cause the water heater to produce less hot water. Ensure the gas valve is fully open and check for any issues with the gas line or pressure regulator. If necessary, contact your gas supplier for assistance.
- Check the pilot light. If the pilot light on a gas water heater is out, the burner will not ignite to heat the water. Follow the manufacturer’s instructions to relight the pilot light. If it goes out frequently, there may be an issue with the thermocouple or gas supply.
- Test the thermocouple. The thermocouple ensures the gas valve opens when the pilot light is lit. If the thermocouple is faulty, the burner may not ignite, leading to insufficient hot water. Replace the thermocouple if it is not working correctly.
Protect Your Water Heater With A Home Warranty
Cover your water heater with an American Home Shield® home warranty. Every one of our plans covers electric and gas water heaters!
Check out our coverage to learn more.
And if you’re already an AHS member,you can request service for covered repairs. for support.
