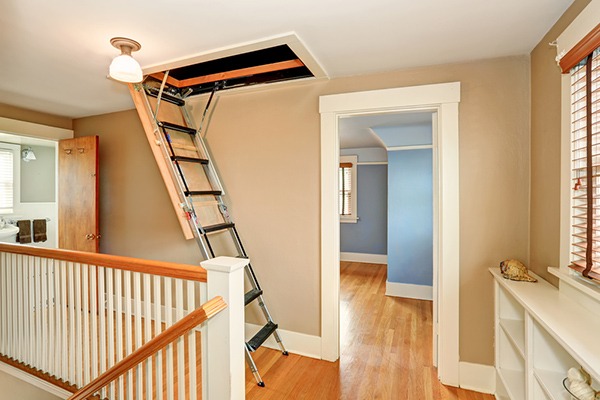
Learning to DIY: How to Replace the Attic Ladder

Do you use your attic for storage, but realize that your attic stairs need to be replaced? Learn how to do it yourself with this easy-to-follow tutorial.


Do you use your attic for storage, but realize that your attic stairs need to be replaced? Learn how to do it yourself with this easy-to-follow tutorial.
Whether you’re going through an organization frenzy or needing to put holiday decorations back in storage, the attic plays an important role in your efforts. So what do you do when, instead of making headway, you find yourself with broken attic stairs, or worse, you can no longer access the attic? You learn how to replace the attic stairs.
Here are the details on how to replace an attic ladder, including how to select a new one and how to install the ladder components yourself — potentially saving you a lot of money.
Note: This article describes replacing an existing attic ladder. If your home doesn’t already have one or you’re wanting to make changes to your existing opening, you may want to enlist the help of a professional installer. Also, if you are not confident in your sawing, squaring and aligning skills, consider hiring a professional.
Before You Get Started
When it comes to installing an attic ladder, you shouldn’t just grab a new one off the shelf and go to town. Rather, you first need to measure your existing ladder to determine the size that your new one needs to be. Measure the rough opening, as well as the distance from the ceiling to the floor. Then, enlist the help of a friend or relative and gather the following supplies:
- New, preassembled ladder in desired material and with desired features
- Carpenter square
- Drill bits, according to the manufacturer’s instructions
- Hammer
- Hacksaw (for metal steps)/Wood saw (for wood steps)
- Pencil
- Stepladder
- Tape measure
- Wrench, according to the manufacturer’s instructions
- Phillips-head screwdriver
- Deck screws, according the manufacturer’s instructions
- Support boards, according to the manufacturer’s instructions
- Shims
Be prepared that you could end up spending some time taking down your existing ladder components, depending on how badly damaged the ladder is. In fact, this may be the most time-consuming part of the whole process.
Learn how a home warranty helps cover unexpected system and appliance failures.

DIY Attic Ladder Installation
When the old ladder is removed, proceed with the following instructions:
Looking for pictures of the process? Click here.
Related: Best Money-Saving DIY Home Improvement Projects for the New Year
AHS assumes no responsibility, and specifically disclaims all liability, for your use of any and all information contained herein.
Have a plan for your home when things don't go according to plan
Shop Home Warranties