4TH OF JULY SALE
50% off* select plans for a year
Save big and let us handle covered home hassles.

Save big and let us handle covered home hassles.
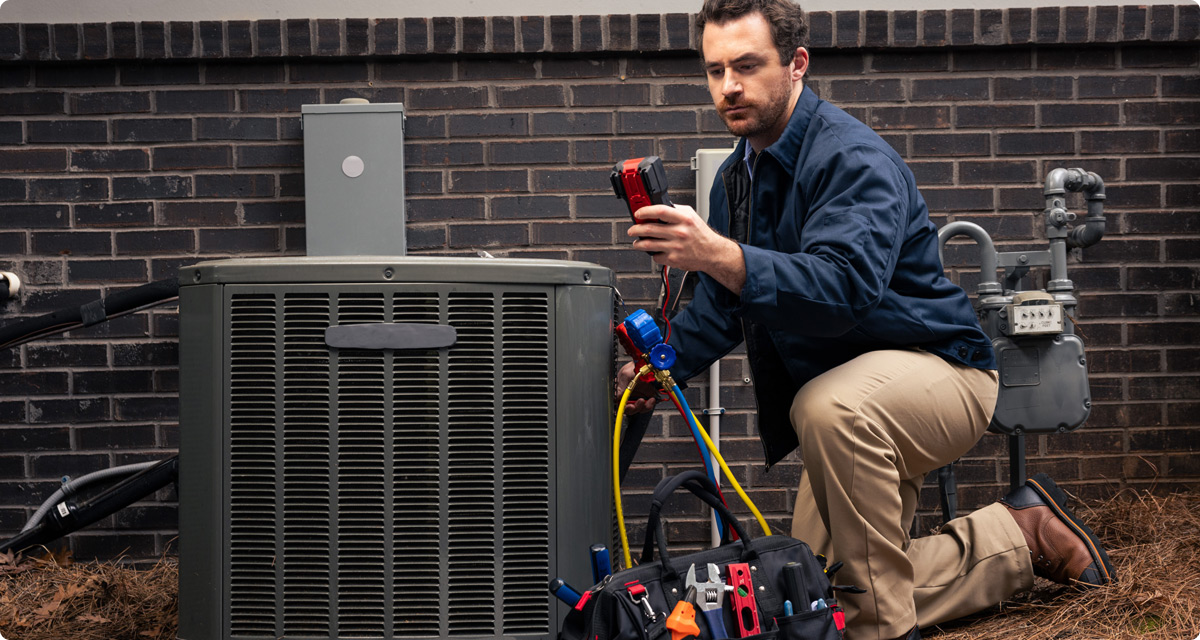
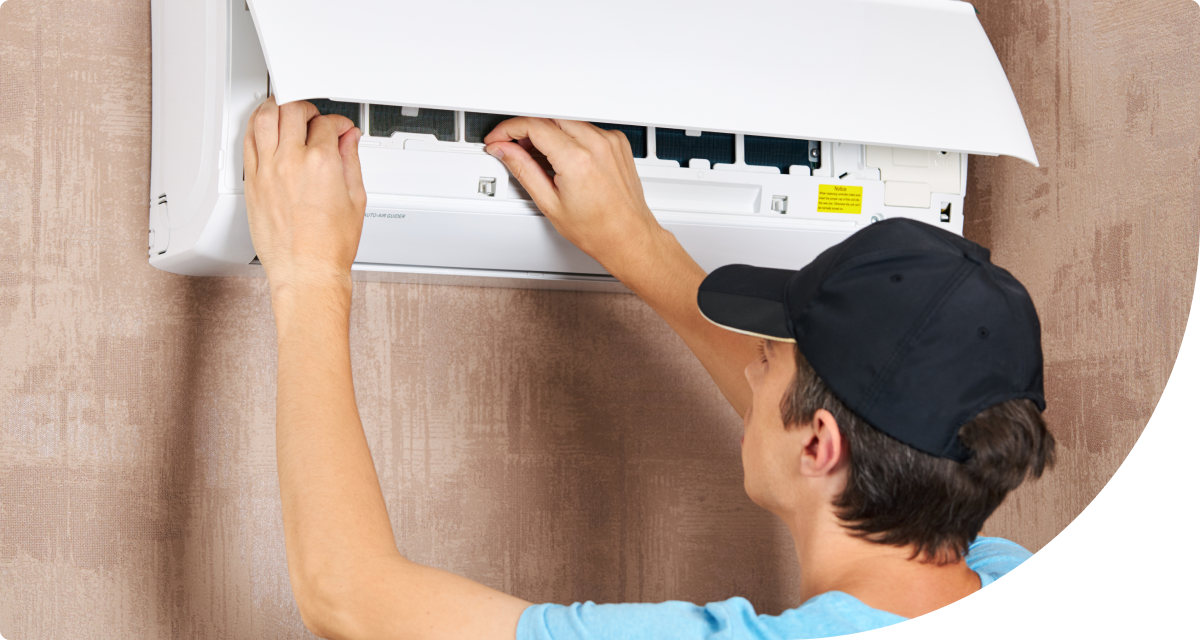
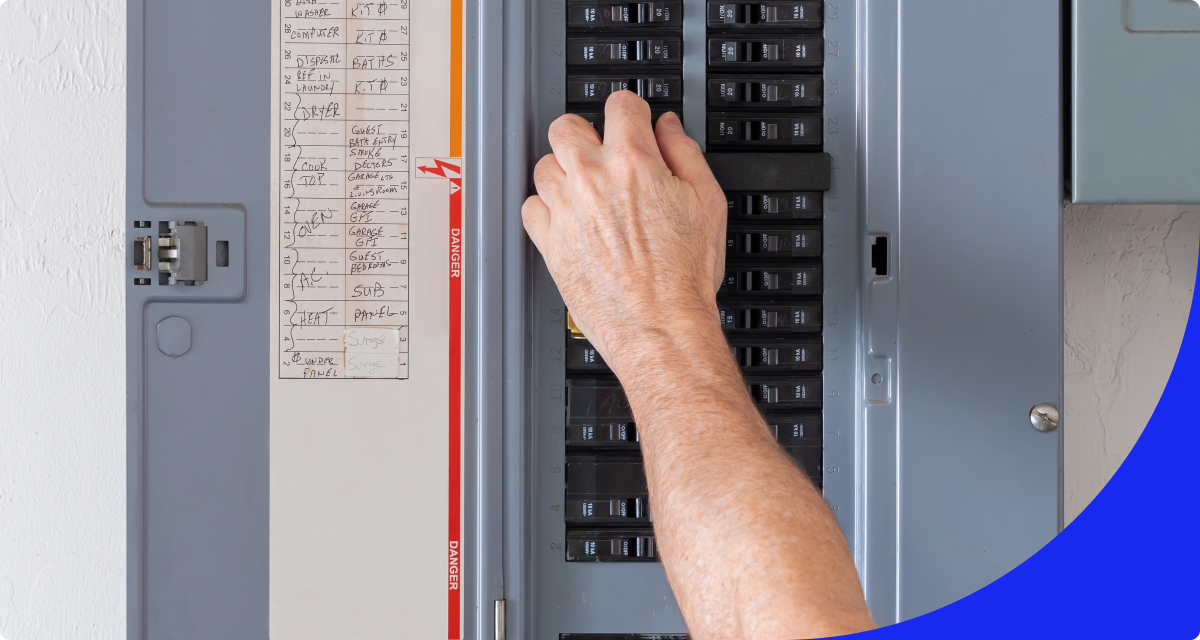
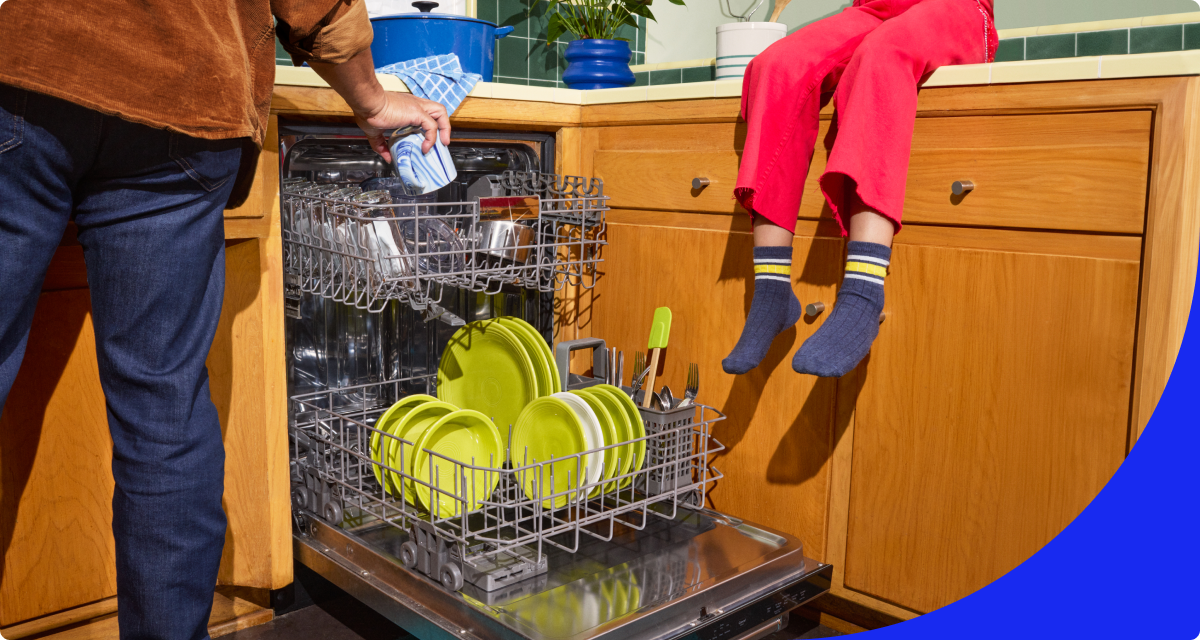
Sinks clog, freezers freeze up and circuit breakers break. Repairs, maintenance and replacement are a fact of life for homeowners. But don’t melt down. We’ve got resources, advice and how-tos to help guide you in the right direction when appliance issues and repair problems pop up.


Have a plan for your home when things don't go according to plan
Shop Home Warranties