LIMITED TIME OFFER
Get 30% off* select plans
Enjoy special savings, and let us handle covered home hassles.

Enjoy special savings, and let us handle covered home hassles.

With a few materials and some good old-fashioned elbow grease, you can make your yard into the ultimate gathering spot for cozy nights, complete with some s’mores. And guess what? It doesn’t have to break the bank.
Let’s flame the flames of inspiration and show you how to build a fire pit from scratch, covering everything from material selection to safety tips.
Besides the bragging rights, there are a few other reasons this project is perfect for you, your backyard, and your budget.
A homemade fire pit allows for a level of customization that store-bought options simply can’t match. Only your imagination can limit the design possibilities when you take a DIY approach. You can choose every element, from the type of stone to the size and shape, making your new fire pit a perfect fit for your backyard.
Not only does a fire pit make your backyard the social hotspot of the neighborhood, but it also adds value to your home. Outdoor living spaces are a big selling point for buyers, and a well-designed fire pit can tip the scales in your favor when it comes time to put your home on the market.
Building a homemade fire pit doesn’t require many expensive materials. Here’s what you’ll need:
Pro tip: Check local buy-and-sell groups or salvage yards for second-hand materials. You might score some great deals or even free finds on pavers and bricks.
Now comes the fun part—building it! Even if you’ve never laid a brick in your life, you’ll be just fine. Just follow along with our simple, 7-step guide on how to make a fire pit.
Pick a flat, open area for your DIY fire pit at least 10 feet away from your house, fences, trees, or anything else that might catch fire in your yard. Make sure to check your local codes for any specific requirements, such as fire burn warnings or permits.
Now it’s time to decide: are you more of a circle or a square?
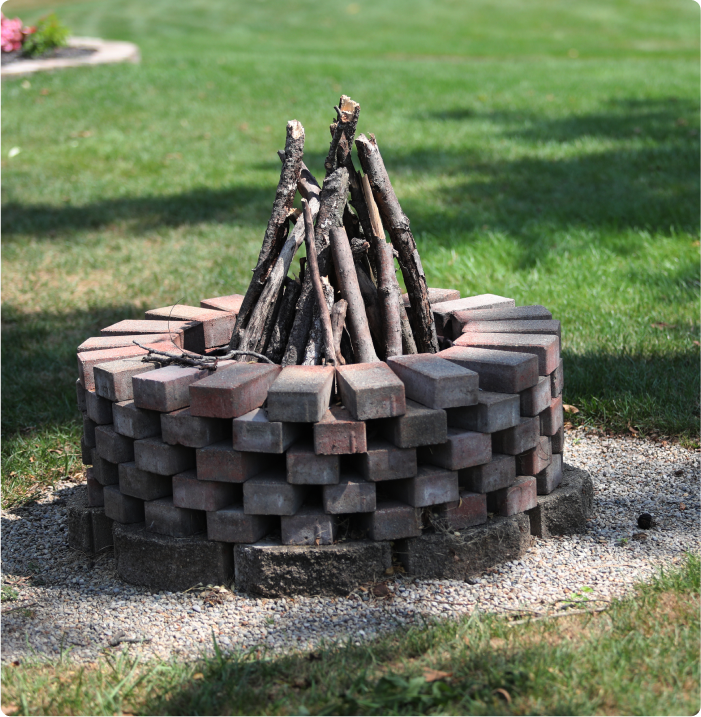
If you’re going for a classic ring with your DIY campfire pit, you’ll need trapezoidal blocks, which are narrow on one side and wide on the other to allow for a snug, round fit. Circular fire pits are great for smaller spaces and have a smoother, modern look.
A square fire pit will do the trick if you’re feeling edgy. You’ll need rectangular blocks for this shape, and you can get creative with patterns. Stack them in various ways with different shapes and sizes to create a custom masterpiece. A square fire pit gives off a more structured, contemporary vibe and takes up a bit more space—perfect if you’re plotting out a large gathering spot for friends and family.
Once you’ve decided on shape and size, grab your measuring tape, stakes, and some string to mark out your fire pit’s shape and size on the ground. For a circle, tie your string to a stake, walk out the radius, and draw your outline. For squares, use stakes to outline each corner.
Grab your shovel and dig out the marked area about 6-8 inches deep, keeping the ground level and smooth as you go.
Learning how to build a fire pit safely is just as important as the design. Lay down a few inches of gravel or lava rocks to create a stable base for your fire pit. This layer gives your fire pit an inflammable surface to protect the ground beneath.
Stack your paver stones or fire bricks around the hole’s perimeter, keeping everything snug and secure as you build up the walls. If you want extra stability, you could use some construction adhesive, but dry stacking will do the trick.
Pour a layer of sand inside your DIY campfire pit—about 1-2 inches deep—to help distribute the heat and protect the ground.
Wondering how to make a fire pit that will last? If you plan to use your fire pit regularly (and why wouldn’t you?), installing a metal fire pit ring inside will protect your beautiful brickwork from heat damage and keep things looking sharp for years of enjoyment.
Coverage options built for every home and budget.

You’ve got the basic structure, but now it’s time to give your fire pit that wow factor. Here are some of our favorite finishing touches that will make your DIY fire pit entertaining-ready:
Let’s review some safety essentials before tossing those logs and striking a match. After all, the last thing you want is for all your hard work to go up in smoke:
One of the most apparent perks of building your fire pit is the potential for significant savings.
Let’s break it down: if you hire a pro, you’re looking at a bill somewhere in the ballpark of $1,225. But when you take on this project yourself, you’re saving hundreds or even thousands of dollars for other improvements for your yard.
Yes, building your own fire pit can save you significant money. Depending on the materials, DIY fire pits typically range from $150 to $300, compared to professional installations that can cost anywhere from $250 to over $2,200.
Start by choosing a flat, open spot in your yard that’s safe from overhanging trees or structures. Dig a shallow pit about 6-8 inches deep, then layer gravel or lava rocks to create a stable base. Stack fire bricks or pavers around the pit’s perimeter to build the walls. For a finishing touch, pour a layer of sand inside, which helps distribute heat evenly.
The bottom of your fire pit should contain a few inches of gravel or lava rocks. These materials are inflammable and provide stability, heat protection, and drainage. Adding sand on top can further insulate the pit and help distribute heat.

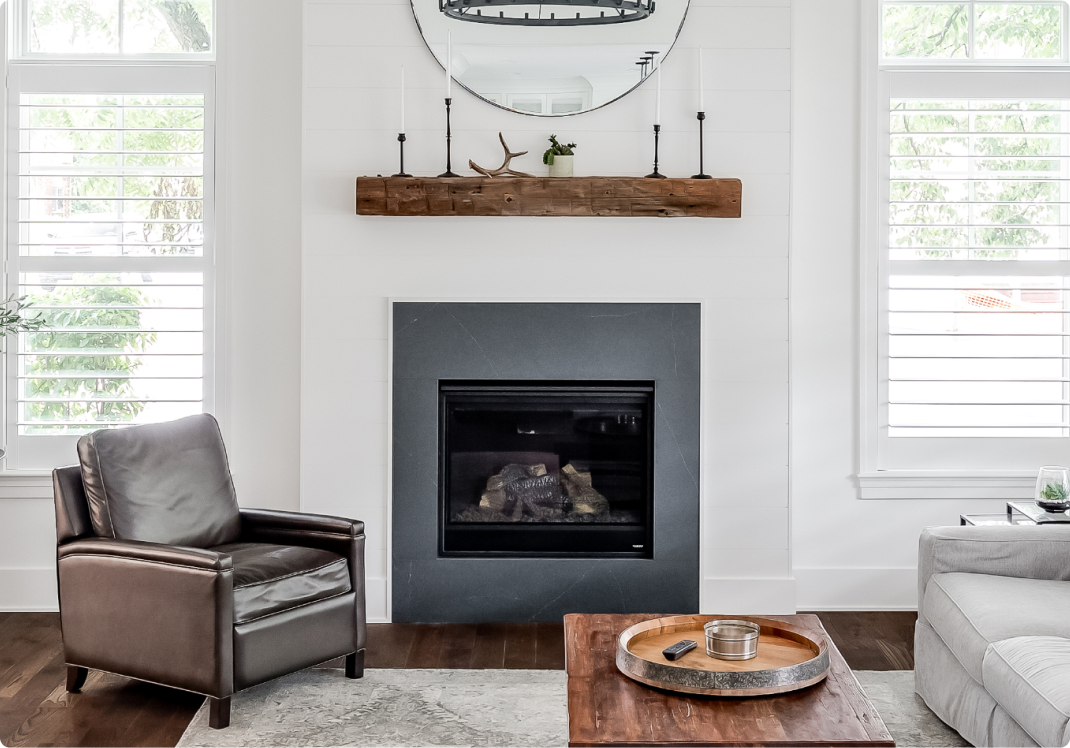
Fires and homes have something in common: they both need tending. While your new fire pit might be the hottest addition to your backyard, it’s just one part of your home.
Our home warranty plans are always there when needed, protecting your home’s vital systems and appliances. With coverage options tailored to your needs and budget, you can relax knowing that unexpected breakdowns won’t leave you out in the cold.
So go on, strike that match, gather your loved ones, and bask in the glow of your accomplishment. With American Home Shield, you can always count on having a little extra fuel for your home improvement fire.
AHS assumes no responsibility, and specifically disclaims all liability, for your use of any and all information contained herein.

Have a plan for your home when things don't go according to plan
Shop Home Warranties