How to Replace an Oven Door Gasket

If heat is escaping your oven it may be time to replace your oven door gasket. Check out these tips for DIY success.


If heat is escaping your oven it may be time to replace your oven door gasket. Check out these tips for DIY success.
If heat is escaping your oven it may be time to replace your oven door gasket. Check out these tips for DIY success.
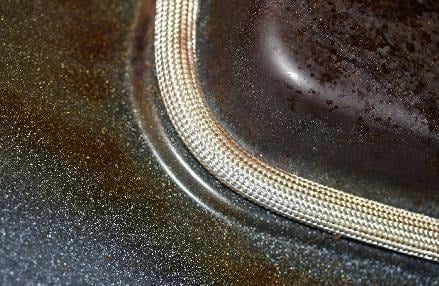
Replacing an oven door gasket is usually a simple task that can make a difference in how well your oven operates. If you don’t know where your oven gasket is located, look at the manufacturer’s information that came with the appliance. On most ovens, the gasket is made of flexible material and is wedged into a channel on the interior side of the oven door frame.
With this configuration, replacing a broken oven gasket is relatively easy. In some oven units, however, the door is in two sections with the gasket installed between the front and the back parts. In the latter design, it’s usually best to have a professional change out the gasket for you.
How Do You Know When You Need to Replace Your Oven Door Gasket?
The purpose of an oven gasket is to help seal the door to keep heat inside the oven. How do you know if you need to replace the gasket? You may notice that food is cooking unevenly or that the oven won't heat to the right temperature. Or, you may feel heat escaping from the door when the oven is in use, especially when you’re cooking at high temperatures. In addition to altering the cooking temperature that you need, losing heat from your oven can cause it to work harder to try to maintain the desired internal temperature or for foods to take longer to cook, which uses more energy than needed. Keeping your oven gasket in good condition can help your oven operate more efficiently and can help you save on energy costs.
If you have a standard oven door frame channel-mounted gasket and find that your gasket has cracks or looks old and worn, check your manufacturer’s instructions to find the correct replacement part. You can find replacement gaskets at many home stores, hardware stores, or online. You’ll also need a pair of needle nosed pliers, some cleaning materials, and possibly a screwdriver.
Replacing Oven Door Gasket
Step 1: Before you begin working, make sure your oven door is cool.
Don’t attempt to replace the gasket soon after the oven has been in use. After the oven has cooled down, disconnect power by unplugging the oven from the wall, by flipping the corresponding circuit breaker, or by turning off the gas valve.
Step 2: Open the oven door and locate the old gasket.
Determine how the old gasket fits into the channel. It may use a series of pins, clips, screws, or may be installed using friction fitting. Some oven door designs have two holes where the ends of the gasket fit, and this is a good place to start when removing the old part. Sometimes, the ends of the gasket are covered with metal plates that may need unscrewing.
Use pliers to pull out the pins or a screwdriver to unfasten the screws. If the gasket doesn’t come out easily along with removal of the pins or screws, use pliers or wedge the end of a screwdriver underneath to gently coax it out. Discard the old gasket along with any pins, clips, or screws.
Thinking about coverage?
Security for your home. Protection for your budget.
Step 3: Clean any food particles or grease in the channels
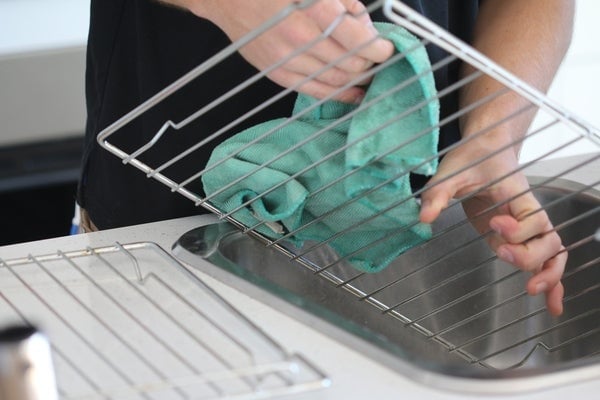
With the old gasket out, this is a good time to clean any food particles or grease that may have settled into the channel. Use a soft cloth and some warm, soapy water to clean the channel. If there is food residue or grease lodged inside, you may also need to scrup the channel with a dish brush or an old toothbrush. This is also a good time to clean the interior oven door. Make sure to rinse the area well and to let it dry completely before installing the new gasket.
Step 4: Insert your new gasket
If your gasket is held into place by pins, clips, or screws, start inserting the new gasket with the first hole and work your way around the door, fastening as you go. If your gasket is friction fitted, start at the top of the door frame and work your way around the corners, pressing and fitting the gasket into the channel. Fit the ends of the gasket into the holes at the bottom of the door, push the gasket ends together, or cover the ends with a metal plate, depending on your door configuration. When you are finished, reconnect power to the oven.
You may notice that the new gasket is stiffer than the old one, and that initially your oven door may seem hard to shut. The new gasket should become more flexible and better fitted with use. Locking your oven door overnight may help the new gasket settle into place more quickly.
Be Safe While Making Oven Gasket Repairs
In addition to disconnecting power when working on appliances, make safety a priority whenever you perform repairs. If you smell the odor of gas, leave the house immediately without turning any lights or other appliances on or off, including flashlights. Call the fire department or gas company from an outside telephone and do not re-enter the home until you’ve been given the all-clear from emergency officials. Never attempt any home repair unless you are sure you can accomplish it safely.
Make it a habit to check your oven door gasket regularly for signs of wear and tear. A good time to remember to inspect it is when you clean your oven or run the self-cleaning cycle. When the oven door is cool, take a look at the gasket and see if you see any cracks, tears, damage, or worn spots. Wipe the gasket down regularly with a cloth, warm water, and mild detergent. Keeping an eye on your oven door gasket is a simple maintenance practice that can help your oven function more reliably and energy efficiently. Some other good oven maintenance tips include:
- If you have a self-cleaning oven, don’t use any other methods or products to clean it. Use the self-cleaning feature only.
- If you notice food deposits or residue on the electric element, use vinegar to remove them. Be sure to wait until the oven has cooled before trying to clean the element.
- Use an oven thermometer periodically to make sure your oven is heating accurately.
- When you’re cooking something that’s potentially messy in the oven, like a pie or casserole that can boil over, place a leak barrier, such as a foil-lined cookie sheet, underneath to catch any spills. This will help your oven stay clean.
Learn more about how you can cover your oven and other appliances with a home warranty.

AHS assumes no responsibility, and specifically disclaims all liability, for your use of any and all information contained herein.
Have a plan for your home when things don't go according to plan
Shop Home Warranties