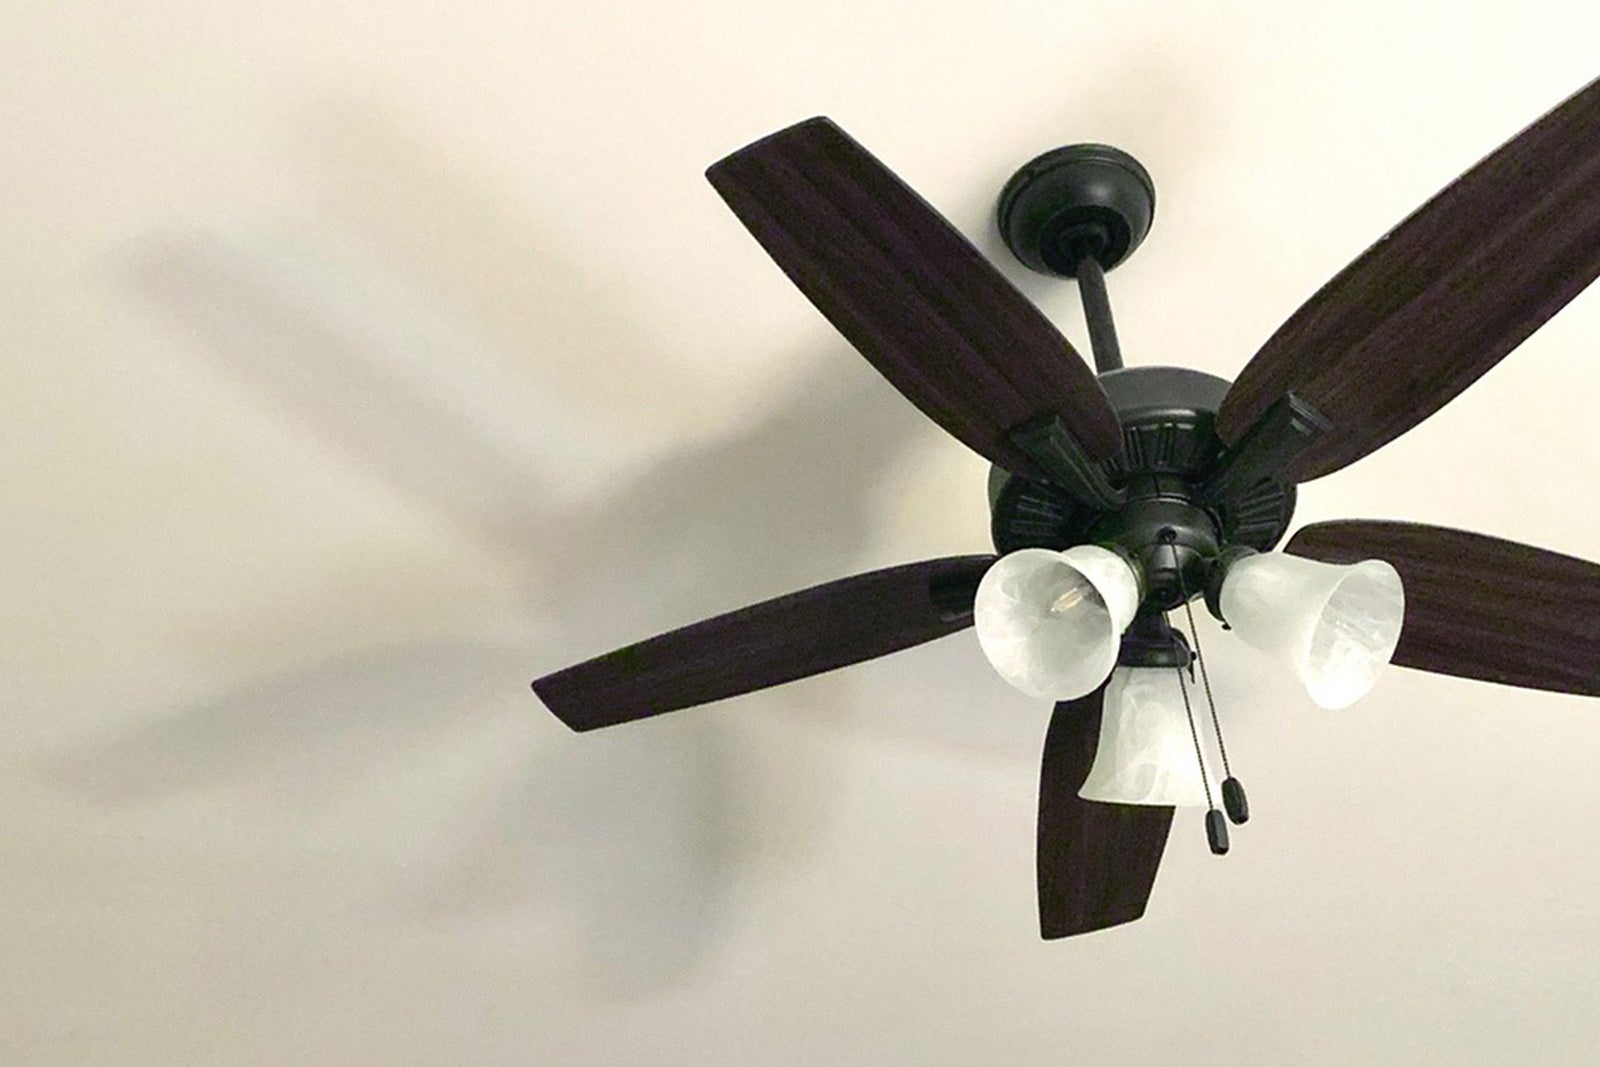
5 min read
Quick Home Tips
Life moves fast when you have home responsibilities to wrangle, from regular maintenance to considering the benefits of a home warranty. We're keeping things short and sweet with an assortment of quick (but helpful!) tips for maintaining your home. Learn cleaning hacks, organizing tricks, safety tips and home how-tos to help you stay up to speed with what your home needs.


4 min read
Smart Home Trends Survey: 93% Own Devices, but 57% Worry About Data Privacy

2 min read
Dog Room Ideas: How to Create the Perfect Dog Nook
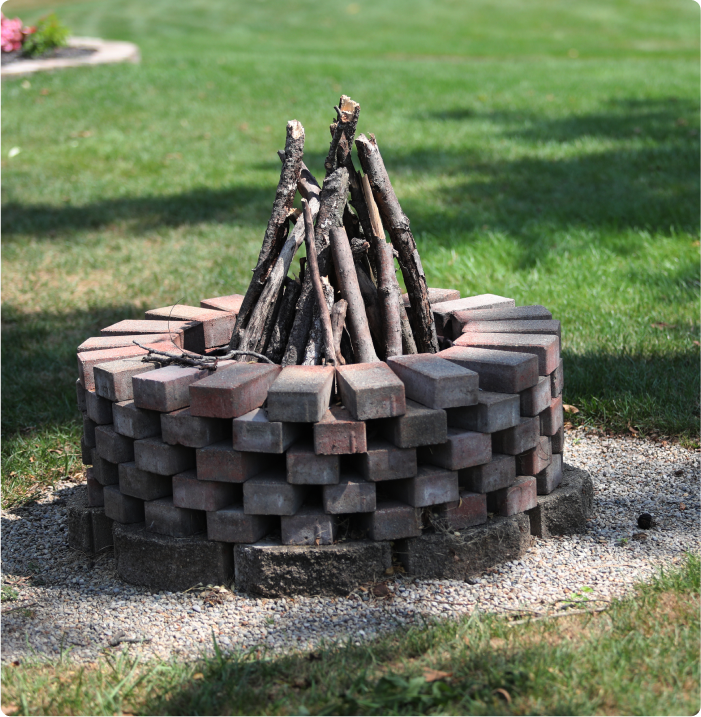
5 min read
DIY Fire Pit: An Upgrade that Won’t Burn a Hole in Your Wallet
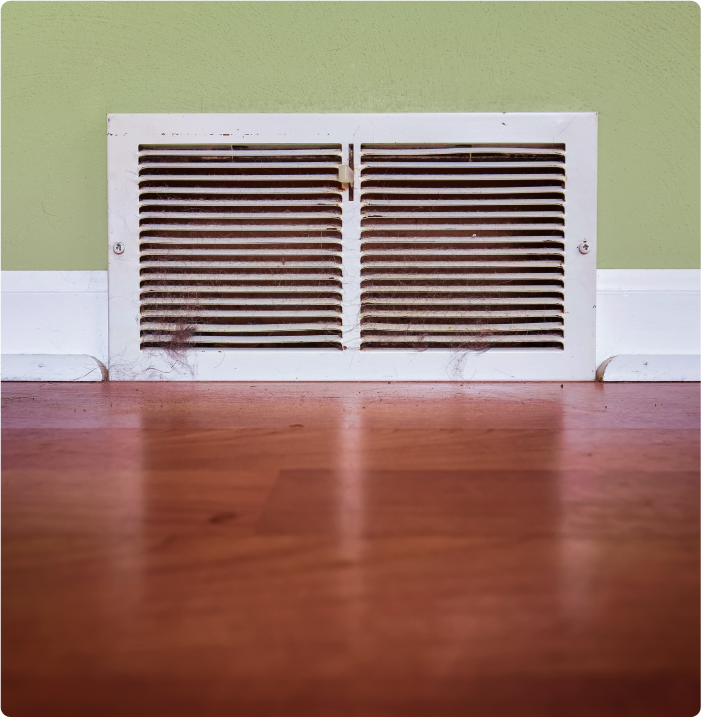
7 min read
Mold In Your HVAC Ducts?

5 min read
How to Prevent Ice Buildup in Your Freezer

Don't Worry. Be Warranty.
Have a plan for your home when things don't go according to plan
Shop Home Warranties